ALDC has launched a new My Councillor website design. The Flow design is clean and stylish. It works much more like a traditional website and configures perfectly on mobile phones and tablets.
If you wish to switch to the new design, or want a brand new website built using this design, there are a few extra steps you need to take to get your website up and running. This article takes you through those steps.
Step 1: Requesting a My Councillor Website
If you do not have a My Councillor site you can request one by following the link below. ALDC will then build the skeleton of your site for you and give you full access so you can manage it going forwards.
New My Councillor sites will be created using the new Flow theme and the steps below will be done by ALDC as part of the set up process. However you will need to familiarise yourself with them to add new items to your menu or sidebar. Existing My Councillor users will have to manually enter these steps to switch to the new Flow theme.
Step 2: Selecting the ‘Flow’ theme
There are 3 different layouts for My Councillor websites. The new ‘flow’ theme, and our older ‘picture’ and ‘traditional blog’ themes. You can change between different themes and your content will fully transfer between the different formats.
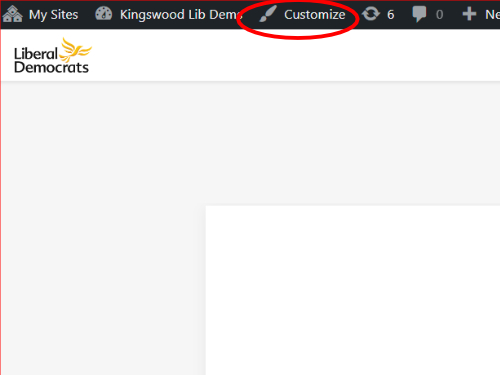
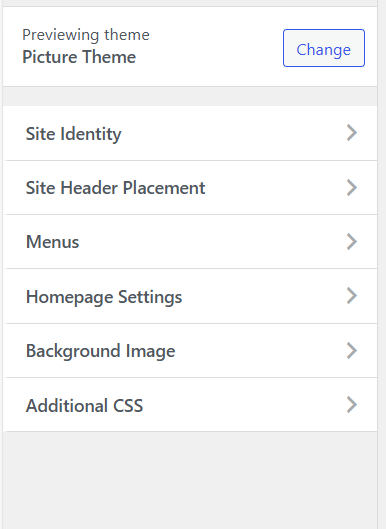
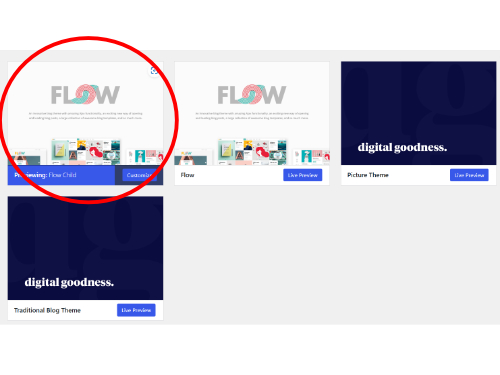
If you have an existing My Councillor site and wish to change to the new theme you can do this by selecting Customize on the toolbar at the top of the page. Then click the Change button next to the theme description. Finally select the ‘Flow Child’ there option and this will load the new theme onto your site while saving and transferring all existing content. You can use this same process to switch from the Flow theme to another layout.
Step 3: Install your Main Menu
The Flow theme allows for a main menu to be displayed on the top of your website on which you can add new pages and posts to fully personalise your menu.
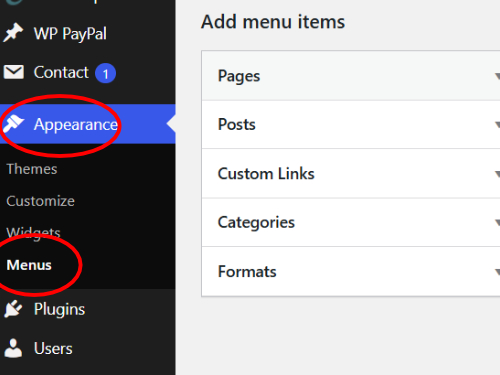
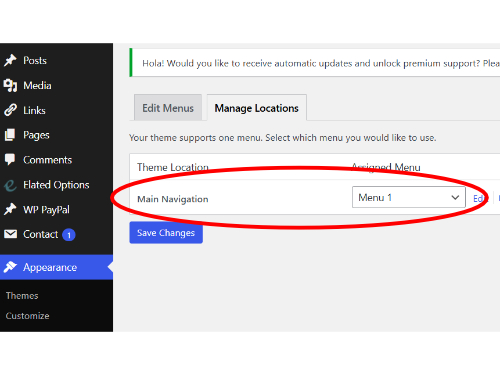
The Main Menu needs activating manually and to do go into the dashboard of the website, hover your cursor over Appearance and select Menus. Then click the Manage Locations tab and select Menu 1 as the main navigation. This will install your menu bar along the top of the page.
You can add or remove pages, posts, links and categories to and from your main menu using the Add Menu Items option on the Edit Menus tab. You will need to create your page or post first and then it can be selected and added to your menu. All pages, categories and links are automatically listed at the bottom of your page as they are with older my councillor site designs, and posts are displayed in date order down the front of the website.
Step 4: Install a Sidebar
Flow themes are designed to use a Sidebar on the right hand side of the page, which will display your photo, tagline and contact details. This needs to be manually installed. To do this click on Customize on the main toolbar at the top of your page. Then click on Widgets and select Sidebar.
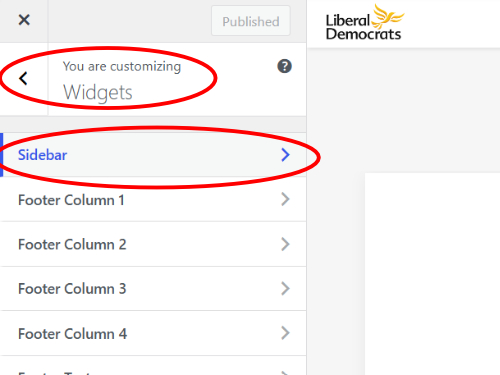
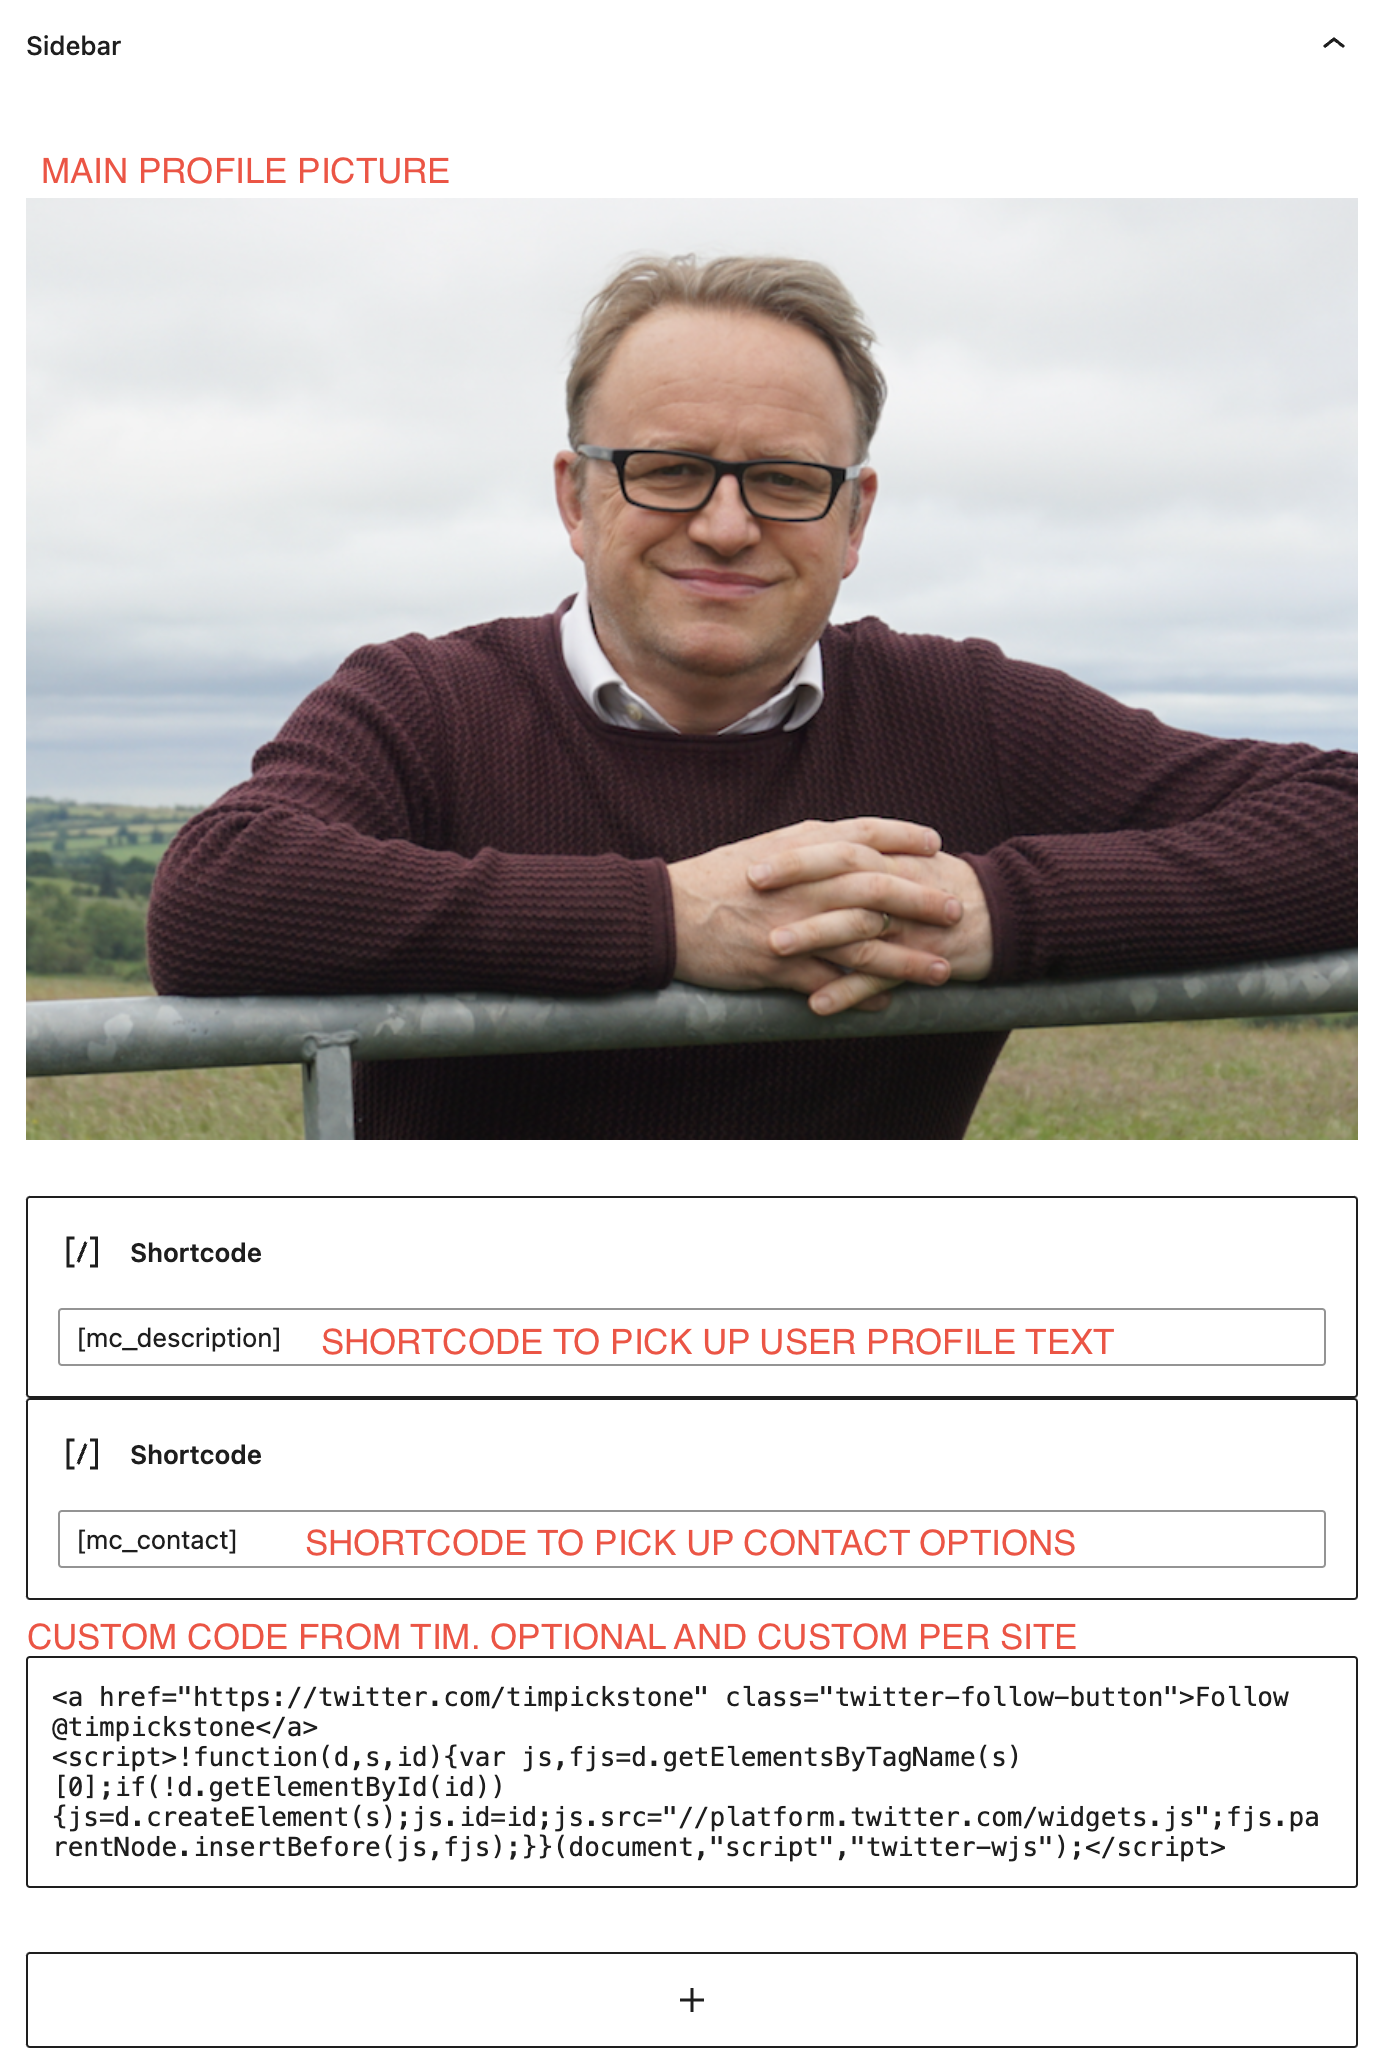
Once you select Sidebar it will then allow you to drop content into space using the blue cross at the top of the widget menu. You will need to:
- Select Image and upload the photo that you want to be the main image of your site.
- Select Shortcode and type in [mc_description] – this will add the tagline you provide when requesting your site into the Sidebar.
- Select Shortcode and type in [mc_contact] – this will add the contact details you provide when requesting your site and any additional contact details you added since.
You can re-order the content in your sidebar by clicking on a content block and then clicking on the up and down arrows that appear on the edit menu.
Once you are finished click publish and your sidebar will be published with your personal content. Your page is now fully built and ready to go.